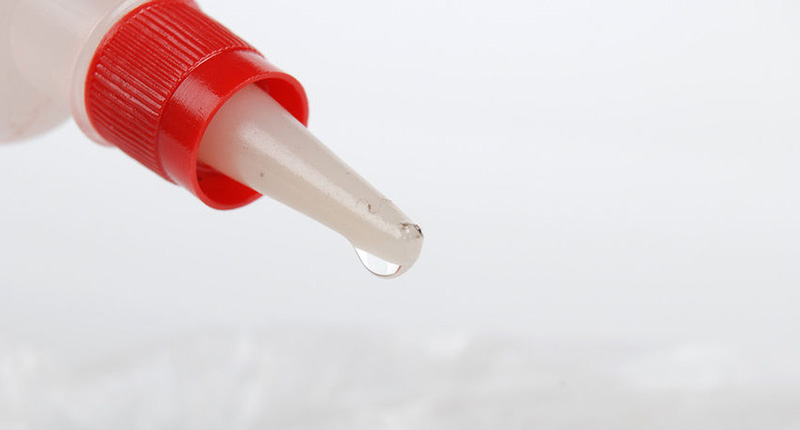
Knowing how to oil your sewing machine is vital in sewing machine maintenance. If you love sewing, you most likely love your machine. You will love it even more if it works beautifully, without any hitches, day in and day out. Unfortunately, like all mechanical machines, whether big or small, they require maintenance and some TLC to keep them in mint condition and toiling away for years to come.
Before giving you any tips and tricks to give your machine some care and cleaning, I need to give you a word of warning:
 Please refer to the guide that came with the machine to ascertain if there is anything you can or can’t do before attempting any cleaning or maintenance on your machine.
Not all machines are the same and you can never be too careful. You don’t want to open and damage anything that can’t be repaired.
Before you oil your sewing machine, there are some initial cleaning tasks to complete.
Generally, you should at least be brushing out the accumulated lint and dust that is always there whenever you sew. These dust bunnies get in the way of the moving parts and cause your fabric and thread to catch and make sewing a frustrating task.
When you decide that it’s time for a proper cleaning out though, gather your supplies and get started.
Things you’ll need to oil your sewing machine:
- Nylon brush (there should be one with your sewing machine)
- Screwdriver (again, there should be one)
- Soft cloth
- Sewing machine oil (make sure you have oil specifically for sewing machines)
- Oil dispensing bottle
Instructions on how to oil your sewing machine:
- Firstly, turn off the machine and unplug it. You don’t want to accidentaly sew your finger or something like that.
- Second, remove the bobbin and bobbin casing. While you’re at it, give the bobbin casing a quick brush and wipe down to remove any dust.
- Next, remove the needle and presser foot. Use the screwdriver to remove the base plate and the stitch plate.
- Using the small, stiff brush (that most likely came with the machine) brush out the lint in all those little nooks and crannies. You may use a pair of tweezers to get to some hard to reach balls of lint. It is important to remove all the lint and dust before you bring any oil near the machine. You could also use a pipe cleaner for this task. Check out this tutorial on how to make a pipe cleaner brush. I’m always up for anything that makes a cleaning task easier.
- Clean under the base and needle plates and make sure all the dust is out. Be very careful of blowing – you don’t want to blow the dust further into the machine!
- Now for the important part – the oil. As briefly mentioned above, please make absolutely sure that you have sewing machine oil. Sewing machine oil is of a different consistency than general household oils which will not work. It is of utmost importance that you use the correct oil. Refer to your manual for exact spots of where to put the oil. You literally only need a few drops. Generally you need to put oil on the bobbin housing, the shuttle hook and in the bobbin hook.
- Next use the soft cloth to gently wipe away any excess oil. You can also sew on a scrap piece of fabric to make sure all the excess oil is soaked up before any of it gets on your project.
For now, your machine should be good to go for another few hours of sewing. Some sources say you should oil your machine after every 10 hours of sewing but generally you will know when it is needed or not.
Ever thought of servicing your sewing machine yourself?
The DIY Sewing Machine Repair & Service manual will teach you the essentials of servicing your machine, whether you’d like to repair and service your machine yourself, or start your own sewing machine service business!
Containing over 70 pages of clear and simple instructions, you will discover how easy it is to repair and service your own sewing machine!
Happy sewing!


